 Pin to board
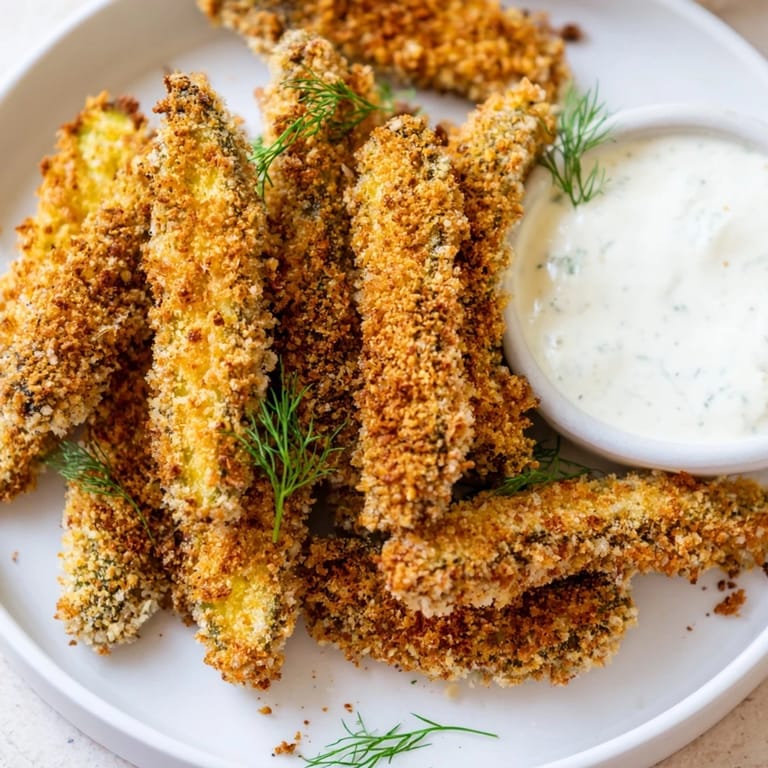
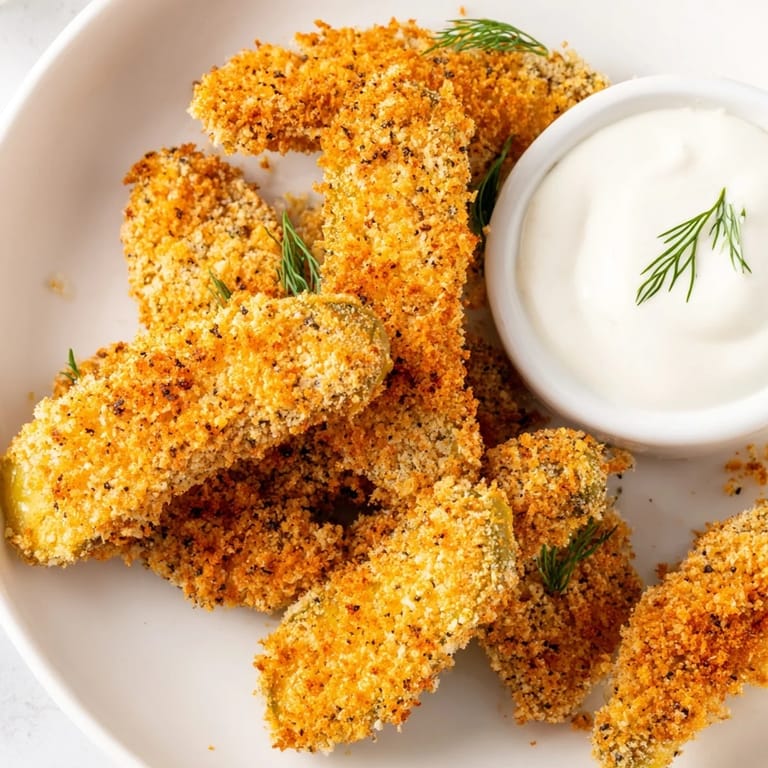
 The first time I encountered fried pickles was at this tiny roadhouse bar in Kentucky during a college road trip. I was skeptical—really, frying pickles?—but one bite and I was completely converted to the cult of crispy tangy goodness. The crunch against that cool dill snap creates this irresistible contrast that makes them impossible to stop eating.
I started making these at home after my roommate kept requesting them for every gathering. There is something uniquely satisfying about watching people who claim they hate pickles suddenly hovering around the serving bowl, pretending they are just being polite. The recipe has evolved through messy trial but this version with the three station breading process never fails me.
Ingredients
- Dill pickle spears: The brinier the better—pat them completely dry or the breading will slide right off during frying
- All-purpose flour: Creates the essential first dry layer that helps the egg wash grab onto the slippery pickle surface
- Eggs and milk: Whisked together this becomes the glue that holds everything together between flour and crumbs
- Panko breadcrumbs: Extra large flakes give you that restaurant style crunch that regular crumbs just cannot match
- Garlic powder and paprika: This savory spice combination balances the sharp pickle brine with earthy warmth
- Cayenne pepper: Just enough heat to make things interesting without overpowering the pickle flavor
- Vegetable oil: Neutral flavor lets the pickles shine while providing the high heat needed for proper frying
- Ranch dressing: The cool creamy counterpart that tames the heat and highlights the dill notes
Tired of Takeout? 🥡
Get 10 meals you can make faster than delivery arrives. Seriously.
One email. No spam. Unsubscribe anytime.
Instructions
- Get your oil heating first:
- Pour about two inches of vegetable oil into a heavy bottomed pot or Dutch oven and bring it to 350°F while you prep—this way you are not waiting around when the pickles are ready to fry.
- Set up your breading station:
- Arrange three shallow bowls in a line with flour in the first egg whisked with milk in the second and the breadcrumb spice mixture in the third so you can work efficiently without making a mess everywhere.
- Coat each pickle spear:
- Dredge a pickle through flour shaking off the excess then dip it in the egg wash letting the extra drip off before pressing it firmly into the crumb mixture to ensure an even coating.
- Fry in small batches:
- Carefully lower just a few spears at a time into the hot oil and fry for 2 to 3 minutes turning them once until they are deep golden brown and audibly crispy when you tap them with tongs.
- Drain and serve immediately:
- Lift the fried pickles out with a slotted spoon and let them drain on paper towels for just a moment before serving them hot alongside that cool ranch dipping sauce.
 Pin to board
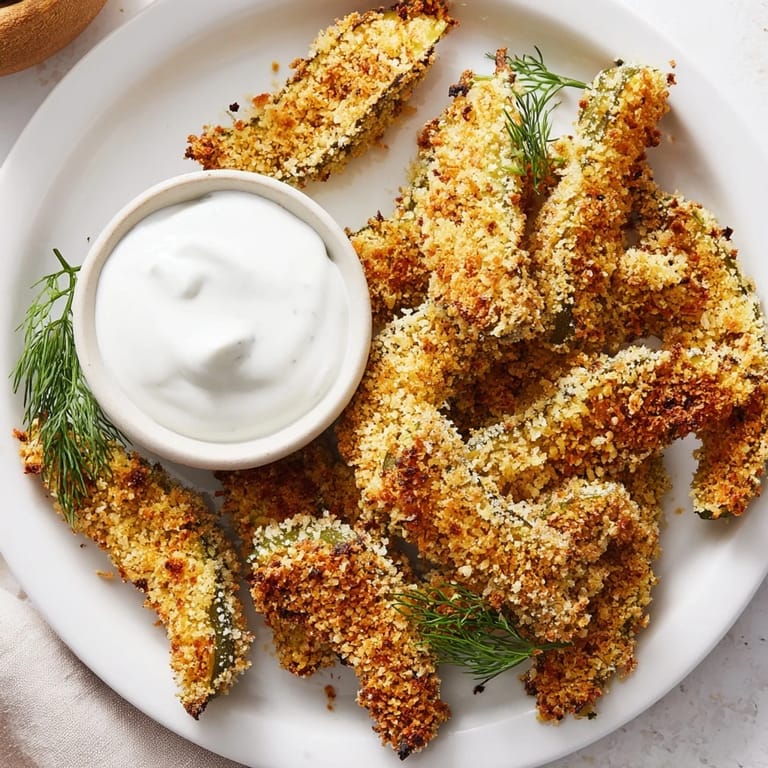
 These have become my go to contribution for potlucks because they travel surprisingly well and always disappear first. Last summer my neighbor asked for the recipe after trying them at our block party and now she makes them for every family gathering.
Getting That Perfect Crunch
The secret to restaurant style fried pickles is using panko breadcrumbs instead of regular ones. The larger flakes create this airy shatteringly crisp exterior that stands up to the moisture inside the pickle without getting soggy.
Oil Temperature Matters
If your oil is not hot enough the breading will absorb too much fat and turn greasy instead of crisp. I keep a kitchen thermometer nearby and maintain the oil right around 350°F for the best results every single time.
Make Them Your Own
Once you master the basic technique you can play around with different flavor profiles to suit your taste. The breading spices and dipping sauces are easy places to start experimenting.
- Try tossing the hot pickles immediately after frying with a mixture of grated Parmesan and dried Italian herbs
- Swap the ranch for a spicy remoulade made with mayo mustard horseradish and hot sauce
- For a buffalo style version toss the fried pickles in melted butter mixed with your favorite hot sauce before serving
 Pin to board
 There is something so satisfying about making a restaurant favorite at home where you can control every element and eat them absolutely fresh from the fryer.
Recipe Questions & Answers
- → What type of pickles work best?
Large dill pickle spears are ideal—they hold up well during frying and provide that classic tangy flavor. Make sure to drain and pat them thoroughly dry before breading to prevent sogginess.
- → Can I bake these instead of frying?
Yes, arrange breaded spears on a baking sheet and spray with cooking oil. Bake at 425°F for 15–20 minutes, flipping halfway. They won't be quite as crispy as deep-fried, but still delicious.
- → How do I get extra crispy coating?
Use panko breadcrumbs for maximum crunch, press breading firmly onto each spear, and don't overcrowd the fryer. Maintaining oil at 350°F ensures golden exterior without greasy texture.
- → What dipping sauces pair well?
Cool ranch is classic, but try spicy ranch for heat, blue cheese for tang, or honey mustard for sweetness. A garlic aioli or chipotle mayo also complements the salty crunch beautifully.
- → Can I make these gluten-free?
Absolutely. Substitute the all-purpose flour with a 1:1 gluten-free flour blend and use certified gluten-free breadcrumbs. The coating technique remains exactly the same.
- → How long do leftovers stay crispy?
These are best enjoyed immediately while hot and crunchy. If storing leftovers, refrigerate in an airtight container up to 2 days and reheat in a 400°F oven for 8–10 minutes to restore crispiness.