 Pin to board
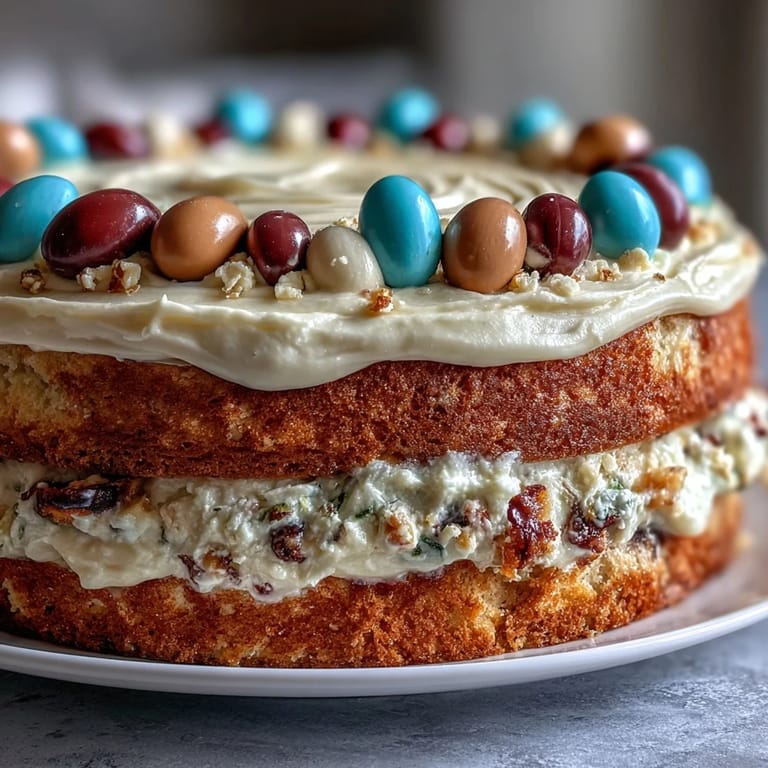
 My cousin called me three weeks before her graduation, voice trembling with excitement and panic in equal measure. She'd seen a two-tier cake at a bakery and fallen in love, but the price tag made her wince. Without thinking, I heard myself say, "I'll make you one." Standing in my kitchen at midnight, surrounded by flour dust and the hum of my mixer, I realized I'd promised something beautiful to someone I adored. This cake became my love letter in buttercream and sponge.
The night before the graduation party, I frosted both tiers in my kitchen while my mom hummed old songs and arranged the balloon toppers. When my cousin walked in the next morning and saw it on the dessert table, she actually cried. I'd spent maybe four hours total, and created a memory that mattered more than any store-bought alternative ever could. That's when I understood: cakes aren't really about cake.
Ingredients
- All-purpose flour: Use quality stuff here because it's the foundation of your sponge, and room temperature ingredients mix more evenly into it.
- Baking powder: Don't skip the measurement or your cake will flatten like a pancake, which I learned the hard way at 2 a.m.
- Granulated sugar and butter: Room temperature is non-negotiable for that fluffy, light texture that makes people say "this tastes homemade."
- Eggs: Again, room temperature, because cold eggs won't blend smoothly and your batter becomes lumpy and sad.
- Vanilla extract: Pure vanilla tastes like an actual flavor, not artificial sweetness, so it's worth the few extra dollars.
- Whole milk: The fat content keeps your cake tender and keeps it tasting rich even though it's not heavy.
- Unsalted butter for frosting: You control the salt this way, and the frosting becomes silky instead of grainy.
- Powdered sugar: Sift it before measuring to avoid lumps that'll ruin your frosting's texture, trust me.
- Gel food coloring: Liquid coloring waters down your frosting, but gel keeps it the right consistency while giving you vibrant graduate colors.
- Balloon toppers: These are your secret weapon for making this look professional without any fancy decoration skills whatsoever.
Tired of Takeout? 🥡
Get 10 meals you can make faster than delivery arrives. Seriously.
One email. No spam. Unsubscribe anytime.
Instructions
- Set yourself up for success:
- Preheat your oven to 350°F and grease those pans like your life depends on it, then line them with parchment paper. Measure and whisk together your flour, baking powder, and salt so everything's ready when you need it.
- Build the base:
- Beat your butter and sugar together until it looks pale and fluffy, about 3 to 5 minutes of real beating, not just 30 seconds. This is when the magic happens—you're literally whipping air into the mixture.
- Add eggs slowly and carefully:
- Drop in one egg, beat until it disappears into the mixture, then add the next one. If you dump them all in at once, your batter breaks and separates, which feels like a small disaster but is fixable.
- Alternate wet and dry gently:
- With your mixer on low speed, add a third of the flour mixture, then half the milk, then another third of flour, then the rest of the milk, then the final flour. This technique prevents overmixing, which would make your cake tough and dense.
- Pour and tap:
- Divide the batter evenly between your four pans and tap each one gently on the counter to release air bubbles that would create tunnels in your finished cake. These little air pockets would catch the eye and announce "homemade" before you even slice it.
- Bake with patience:
- The larger cakes take 35 to 40 minutes, the smaller ones 25 to 30, and a toothpick should come out clean with maybe a crumb or two clinging to it. Don't open the oven door before 25 minutes have passed because the temperature drop can collapse your cakes.
- Cool properly:
- Let the cakes sit in their pans for 10 minutes so they firm up, then turn them out onto wire racks to cool completely. This is when you make the buttercream, because your layers will be ready for assembly by the time it's done.
- Whip your frosting:
- Beat the butter until it's pale and creamy, then gradually add your sifted powdered sugar while the mixer runs, adding milk or cream a tablespoon at a time until it reaches spreading consistency. Overbeating makes frosting grainy, so stop as soon as it looks smooth and luscious.
- Level and layer:
- Trim any domed cake tops with a serrated knife so they sit flat, then place your first 8-inch layer on a cake board and spread frosting on top. Stack the second 8-inch layer on top, then repeat with your 6-inch cakes, creating two separate stacked tiers.
- Crumb coat and chill:
- Apply a thin first layer of frosting to seal in all the crumbs, then refrigerate for 20 minutes so the second coat of frosting goes on clean and beautiful. This step separates homemade cakes that look sloppy from ones that look intentional.
- Stack with confidence:
- Place your smaller tier centered on top of the larger tier, using dowels or drinking straws inserted into the bottom layer for support so it doesn't squish. This prevents the weight from crushing everything and keeps your two tiers distinct and gorgeous.
- Finish with flourish:
- Arrange your balloon toppers in the frosting and scatter edible confetti or sprinkles if you're using them, then step back and admire your work. You've just created something bakery-quality in your own kitchen.
 Pin to board
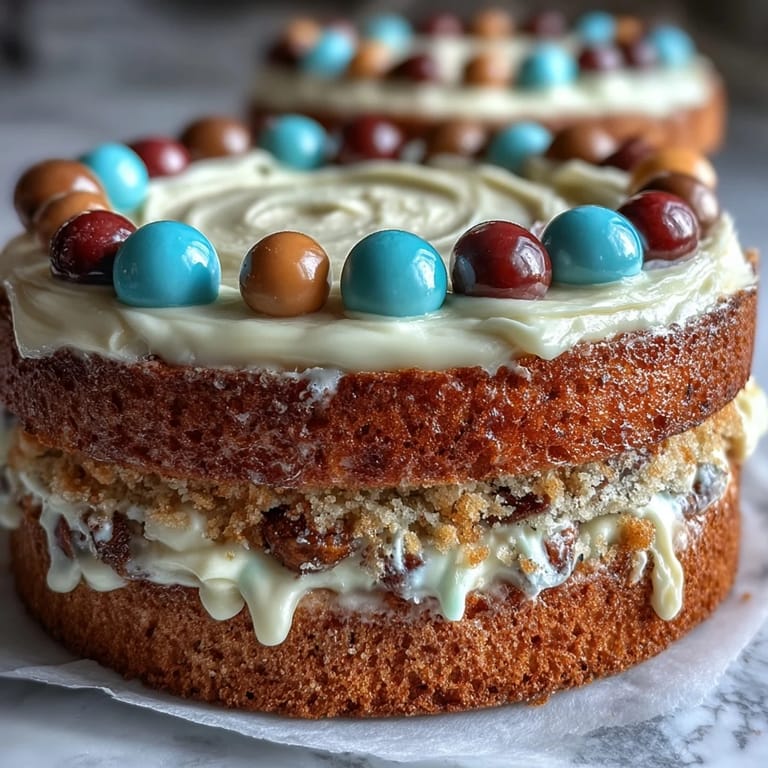
 My cousin served that cake to 80 people, and I watched grown adults close their eyes when they took a bite. A family friend asked for my recipe, then another person did, and suddenly I wasn't just the cousin who baked—I was the one people trusted with their celebrations. A cake became a skill, and a skill became part of who I am now.
Timing Your Bake for Maximum Calm
Bake the cakes the day before your event if you can, which removes so much pressure. They'll actually taste better after sitting overnight because the flavors meld, and you can frost them fresh the morning of your celebration. If you're baking on event day, do it early—like 7 a.m. early—so everything's cool and ready by early afternoon when you want to assemble.
Color Strategy That Works
You can tint the frosting to match graduation colors, or tint just half of it and marble the colors together for a more sophisticated look. If you're going bold with color, start with less gel coloring than you think you need because it's potent and a small squeeze goes surprisingly far. I've made batches where I added too much and had to add more powdered sugar to compensate, so restraint is your friend here.
Customizing Flavor Without Fear
The base vanilla cake is intentionally neutral so it works for any celebration, but you can add 1/2 teaspoon of almond extract or the zest of two lemons to the batter if you want something special. Just don't go wild with add-ins—sometimes the most elegant move is knowing when to stop. Here are three ways to make it feel personal to your graduate:
- Steep the milk with lavender or chamomile before adding it to the batter for something unexpectedly sophisticated.
- Use lemon extract and layer the cakes with lemon curd mixed into the buttercream for brightness and flavor.
- Add a touch of almond extract alongside the vanilla for a cake that tastes like it came from somewhere special.
 Pin to board
 This cake will feed 20 to 24 people and tastes even better on day two, so bake it without anxiety. You're about to create something that tastes like celebration and care in every single bite.
Recipe Questions & Answers
- → How do I ensure the cake layers bake evenly?
Use even-sized pans and preheat the oven properly. Bake the cakes according to size-specific times and test doneness with a toothpick.
- → Can I use different flavors in the layers?
Yes, adding lemon or almond extract to the batter can enhance flavor without altering the texture.
- → What is the best way to apply the buttercream layers?
Spread a thin crumb coat first and chill the cakes before applying a final smooth layer to avoid crumbs mixing with the frosting.
- → How do I stack the two tiers securely?
Use dowels or straws inserted into the lower tier to support the upper layer and prevent shifting during display.
- → Are balloon toppers safe for cake decoration?
Use store-bought balloon toppers with food-safe sticks or homemade versions designed specifically for cake decorating.